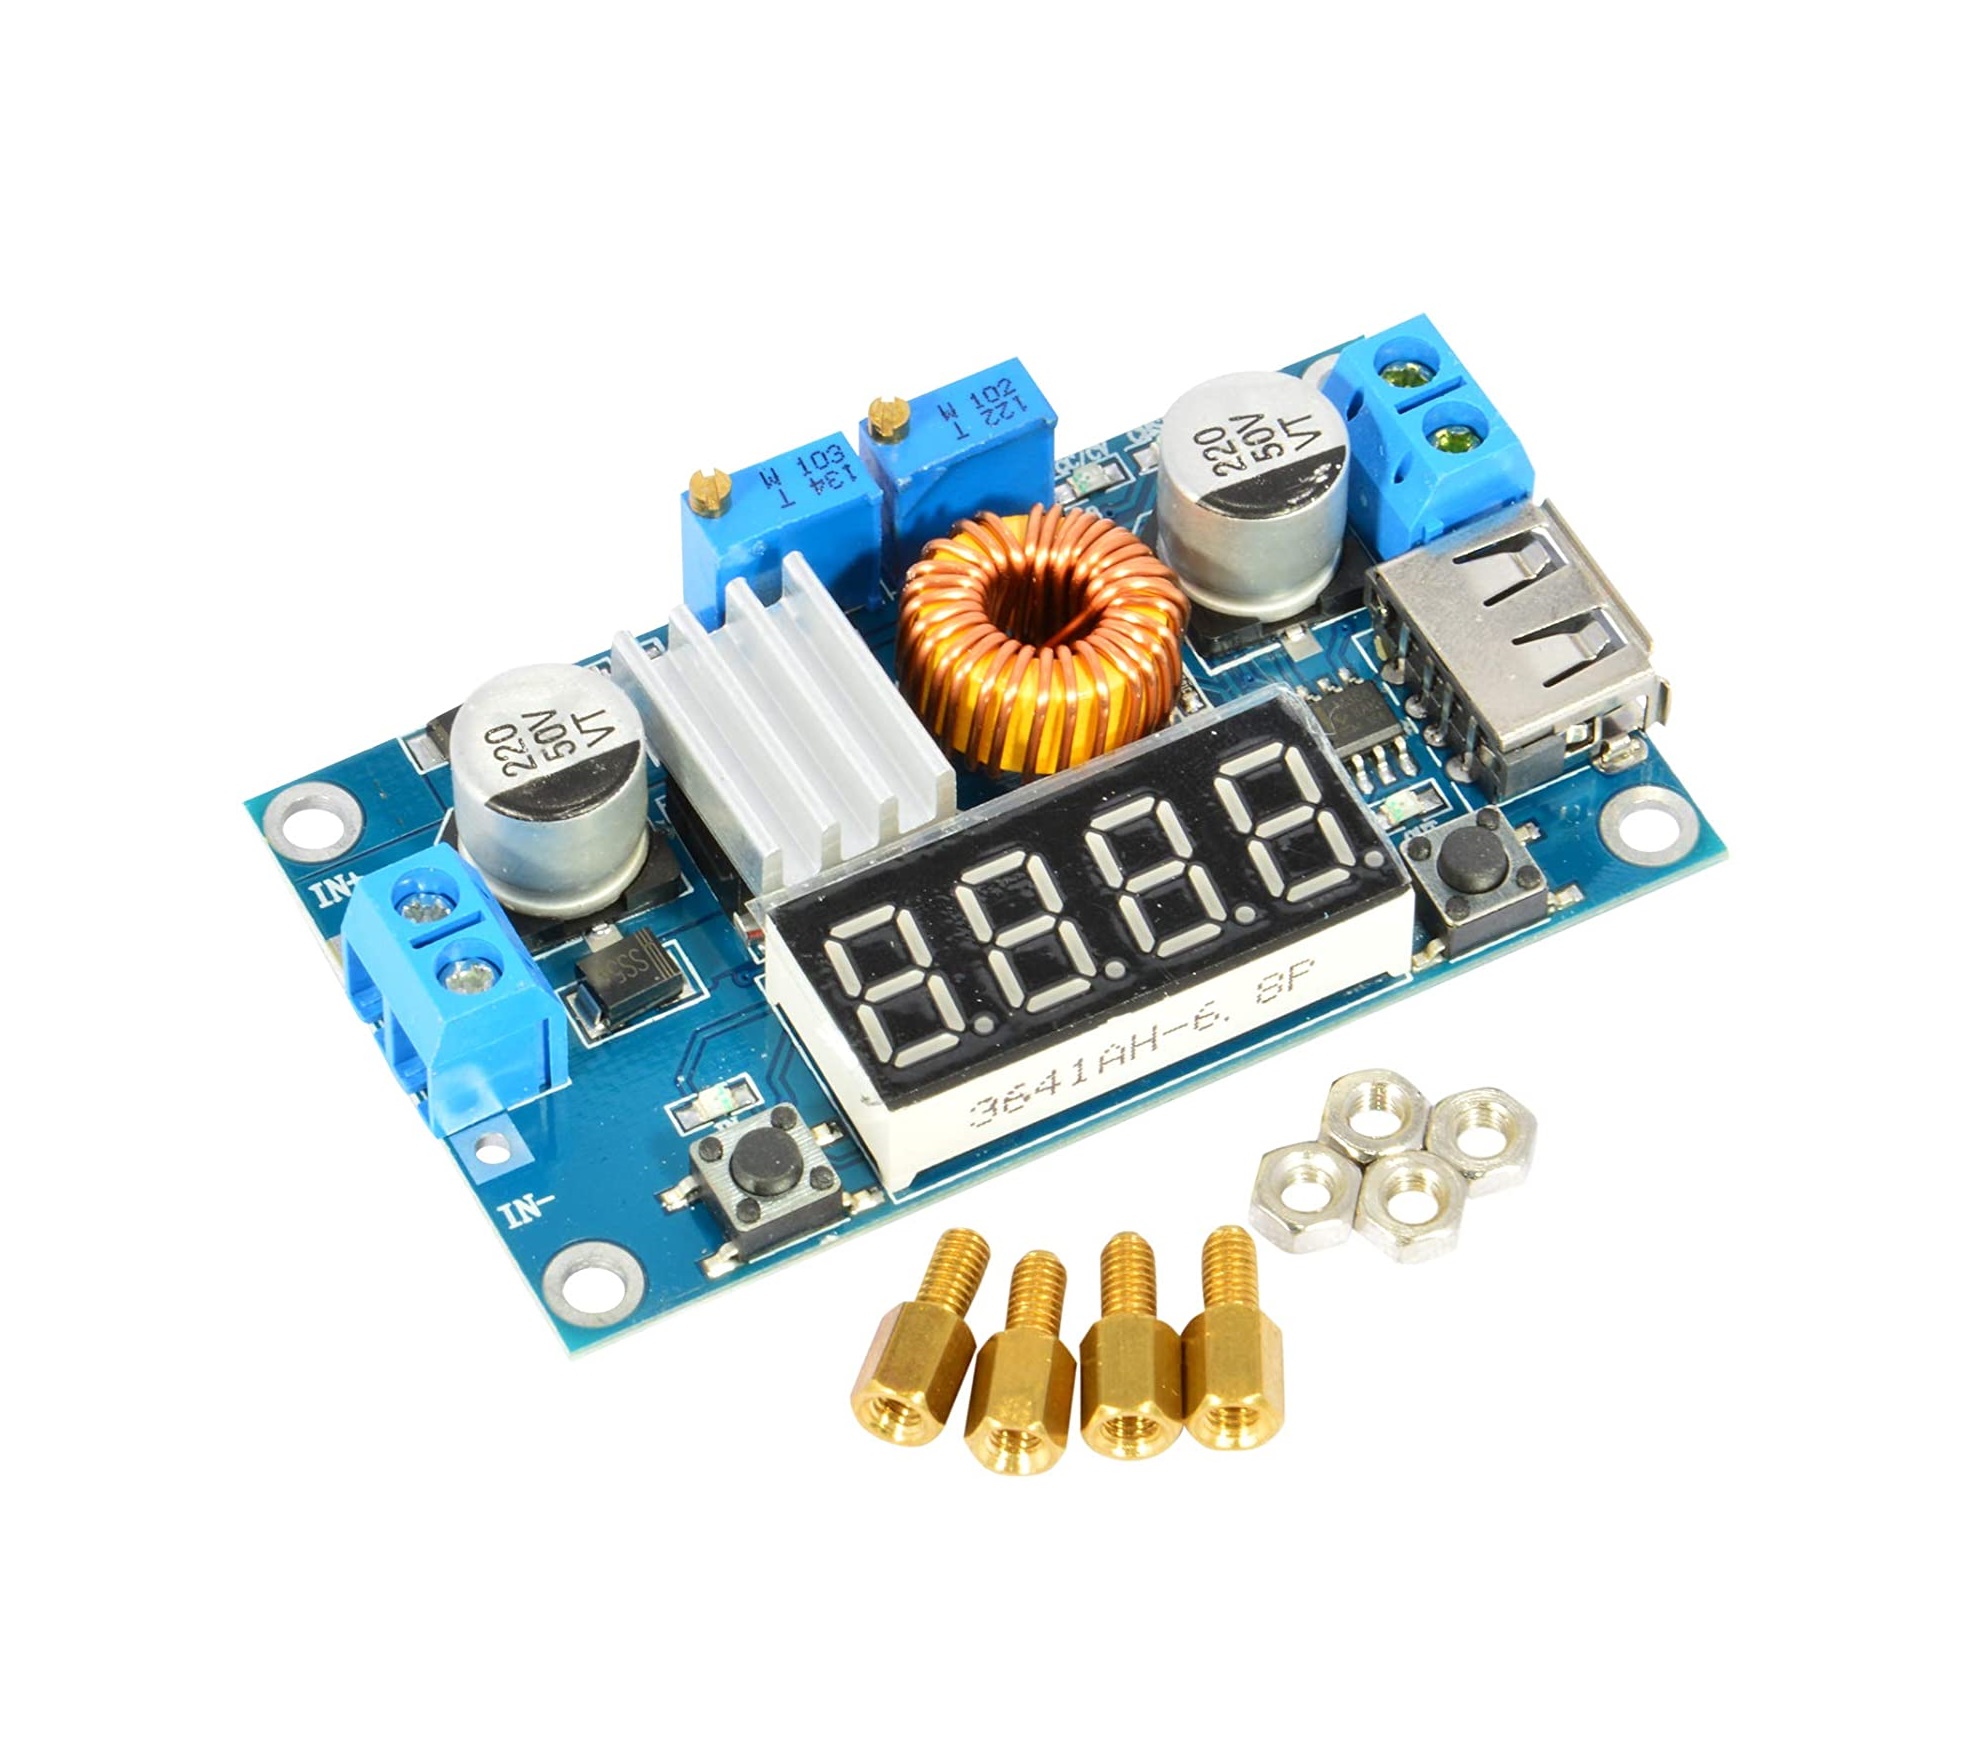
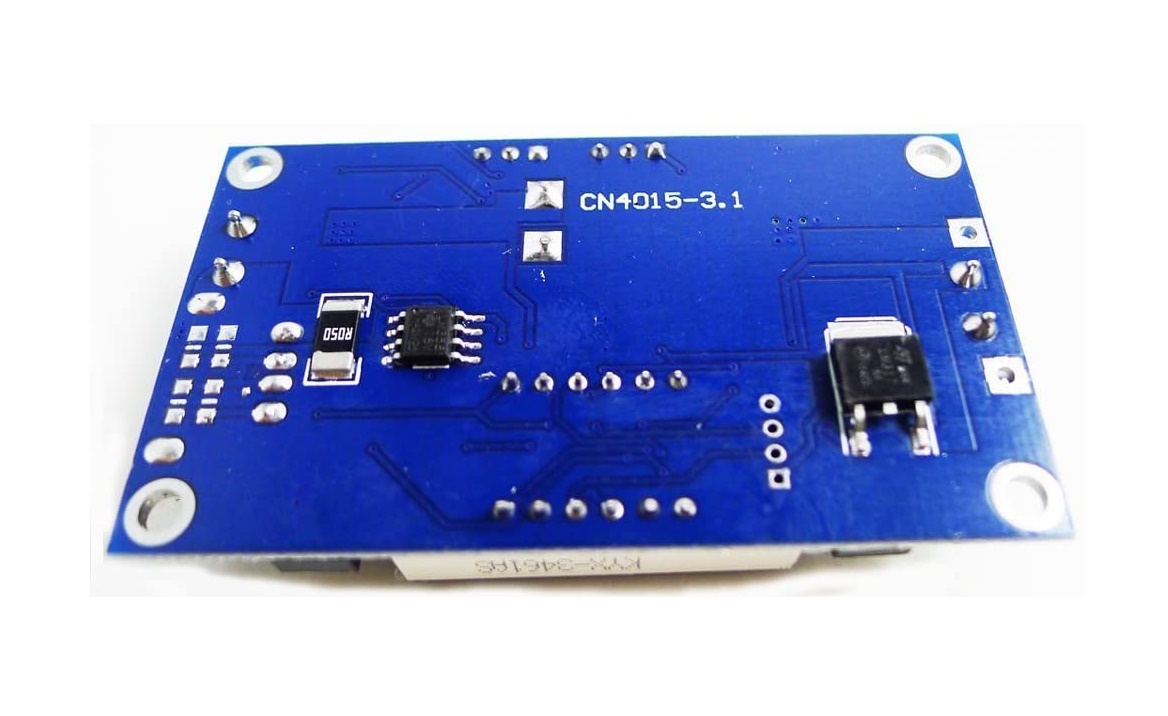
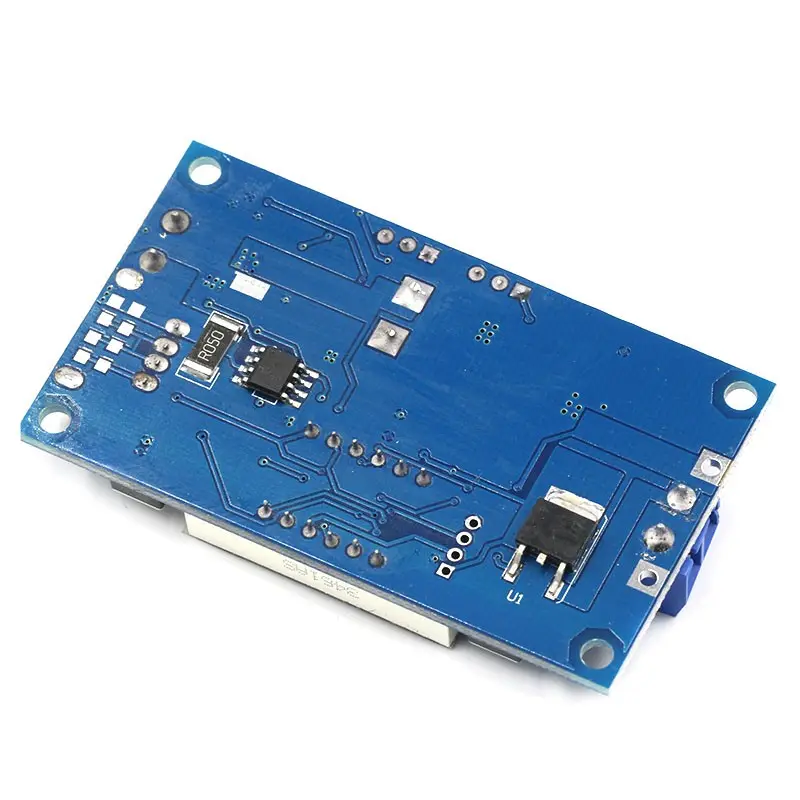
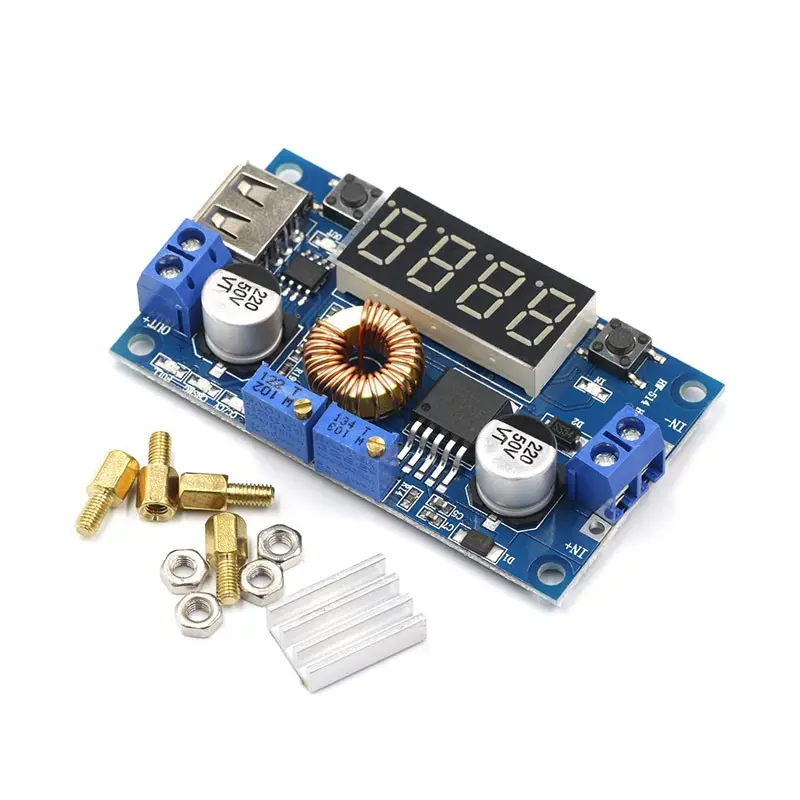
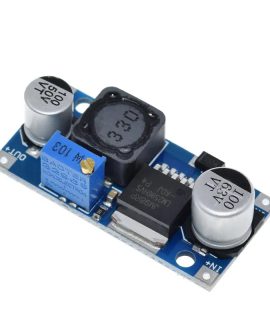
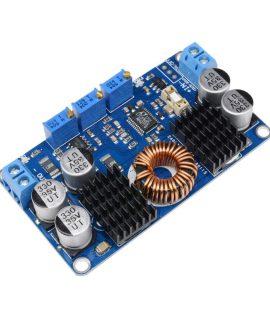
ماژول تغذیه کاهنده XL4015 با نمایشگر و پورت USB
ماژول تغذیه کاهنده XL4015 با نمایشگر و پورت USB
- ولتاژ ورودی: 5-36 ولت
- ولتاژ خروجی: 1.25-32 ولت قابل تنظیم مداوم
- جریان خروجی: قابل تنظیم، 5A (توصیه می شود برای استفاده در 4.5A)
- توان خروجی: 75 وات (توصیه می شود در 50 وات استفاده شود، لطفاً هنگام استفاده از اختلاف فشار زیاد، توان را کاهش دهید)
- دمای کاری: 40- ~ 85+ درجه
- فرکانس کاری: 180 کیلوهرتز
- راندمان تبدیل: 96%
- حفاظت از اتصال کوتاه: بله
- حفاظت در برابر دمای بیش از حد: بله (به طور خودکار خروجی را پس از افزایش دما خاموش کنید)
- حفاظت از اتصال معکوس ورودی: خیر، (در صورت لزوم، لطفا یک دیود جریان بالا را به صورت سری به ورودی وصل کنید)
- روش نصب: پیچ 3 میلی متری 4 عدد
- روش سیم کشی: ترمینال سیم کشی یا ترمینال جوش، V-IN ورودی است، V-OUT خروجی است
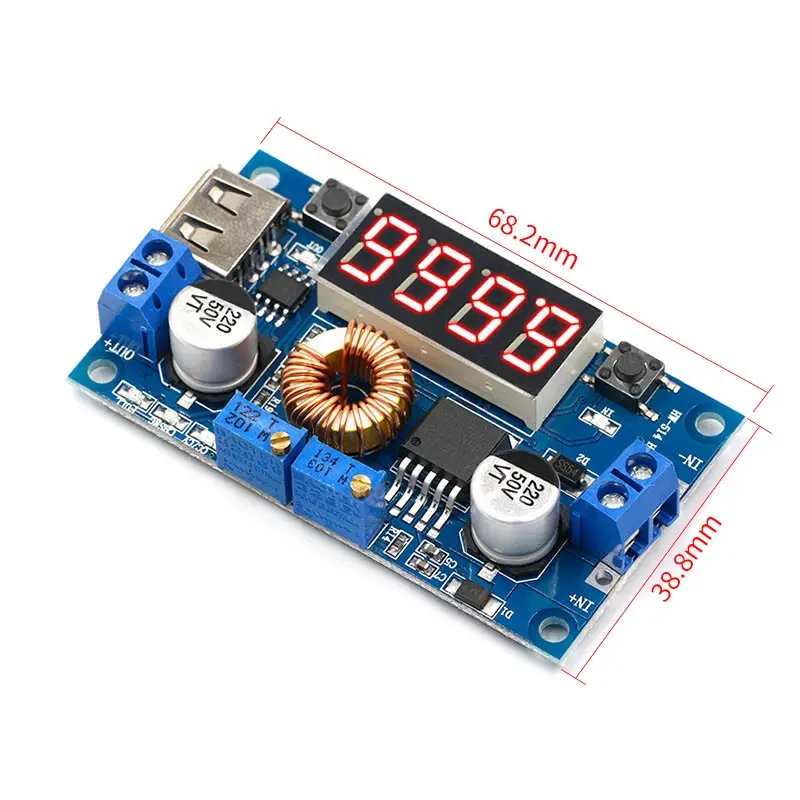
- اندازه ماژول: طول 68.2 میلی متر عرض 38.8 میلی متر ارتفاع 15 میلی متر
- وزن: 35 گرم
توجه: تمامی ماژولها با کیفیت استاندارد بوده و با یک هفته مهلت تست به مشتریان محترم ارائه میشود.
موجود
| تعداد | قیمت |
|---|---|
| 1 - 19 | تومان 240000 |
| 20+ | تومان 235000 |
ماژول تغذیه کاهنده XL4015 با نمایشگر و پورت USB
با نمایشگر ولتاژ و جریان و برق به راحتی بدون مولتی متر قابل استفاده بوده و قدرتمند است.
با رابط USB، دارای 3 عملکرد اصلی است که می تواند نیازهای بیشتر مواقع شما را برآورده کند.
نکات برجسته ماژول
1. ولتاژ، جریان، قدرت سنج روی برد، می توانید به راحتی از این ماژول بدون مولتی متر استفاده کنید که ساده تر و شهودی تر است.
2. رابط USB آنبرد می تواند محصولات دیجیتال شما را به راحتی شارژ کند. (توجه: ولتاژ خروجی USB همان ولتاژ خروجی ماژول است، خروجی 5 ولت ثابت نیست، لطفاً قبل از شارژ دستگاه USB تأیید کنید)
3. قدرت بالا، راندمان بالا، 5A، ریپل کم
4. کارکرد های عمده:
1. به عنوان یک ماژول معمولی کاهنده با قابلیت حفاظت در برابر جریان اضافه استفاده می شود.
2. به عنوان شارژر برای مقادیر مختلف ولتاژ باتری های لیتیومی، باتری ها، باتری های نیکل-کادمیم-نیکل-هیدروژن استفاده می شود و در پانل های خورشیدی، توربین های بادی و غیره استفاده می شود.
3. به عنوان یک ماژول درایو جریان ثابت LED با قدرت بالا استفاده می شود.
4. دارای دو حالت ولتاژ ثابت و جریان ثابت است و یک چراغ نشانگر وجود دارد که نشان می دهد ماژول در حال حاضر در کدام حالت است.
5. هنگامی که به عنوان شارژر باتری لیتیومی استفاده می شود، می توانید ولتاژ شارژ شناور و جریان شارژ را تنظیم کنید و چراغ های نشانگر برای نشان دادن وجود دارد.
نشان می دهد که آیا در حال شارژ است یا به طور کامل شارژ شده است.
6. با عملکرد حفاظت محدود کننده جریان، ماژول نمی سوزد حتی اگر خروجی اتصال کوتاه داشته باشد.
دستورالعمل ها:
(1) ولتاژ شناور و جریان شارژ باتری را تعیین کنید. (اگر پارامتر باتری لیتیومی 3.7V/2200mAh باشد، ولتاژ شناور 4.2V و جریان شارژ 1C، یعنی 2200mA) است.
(2) در شرایط بدون بار، متر دیجیتال ماژول را به رابط [ولتاژ خروجی نمایشگر] تنظیم کنید و “پتانسیومتر ولتاژ ثابت” را تنظیم کنید تا ولتاژ خروجی به ولتاژ شناور برسد.
(3) متر دیجیتال را روی رابط [Display Output Current] تنظیم کنید و مستقیماً انتهای خروجی ماژول را اتصال کوتاه کنید (یک سیم ضخیم برای کوتاه کردن انتهای خروجی پیدا کنید). در این زمان، “پتانسیومتر جریان ثابت” را تنظیم کنید تا مقدار فعلی به مقدار فعلی شارژ از پیش تعیین شده برسد.
(4) جریان شارژ پیش فرض چراغ چرخش 0.1 برابر جریان شارژ است. (جریان باتری در طول فرآیند شارژ به تدریج کاهش می یابد و به تدریج از شارژ با جریان ثابت به شارژ با ولتاژ ثابت تغییر می کند. اگر جریان شارژ روی 1 آمپر تنظیم شده باشد، هنگامی که جریان شارژ کمتر از 0.1 آمپر باشد، نور آبی نشان داده می شود. خاموش و چراغ سبز روشن است، در این زمان باتری کاملاً شارژ می شود)
(5) باتری را وصل کرده و آن را شارژ کنید.
(مراحل 1، 2، 3، و 4 عبارتند از: ترمینال ورودی به منبع تغذیه وصل می شود و ترمینال خروجی هنگامی که باتری خالی است به باتری وصل نمی شود)
3. به عنوان ماژول درایور جریان ثابت LED استفاده می شود
(1) جریان کاری و ولتاژ کاری مورد نیاز برای هدایت LED را تعیین کنید.
(2) در شرایط بدون بار، متر دیجیتال را به رابط [ولتاژ خروجی نمایشگر] تنظیم کنید و “پتانسیومتر ولتاژ ثابت” را تنظیم کنید تا ولتاژ خروجی به ولتاژ کاری LED برسد.
(3) متر دیجیتال را روی رابط [جریان خروجی نمایشگر] تنظیم کنید، و مستقیماً انتهای خروجی ماژول را اتصال کوتاه کنید (یک سیم ضخیم برای کوتاه کردن انتهای خروجی پیدا کنید)، و سپس «پتانسیومتر جریان ثابت» را تنظیم کنید. مقدار فعلی به جریان عملیاتی LED از پیش تعیین شده می رسد.
(4) LED را وصل کرده و دستگاه را آزمایش کنید.
(مراحل 1، 2 و 3 عبارتند از: ورودی به منبع تغذیه وصل می شود و بدون بار خروجی به چراغ LED وصل نمی شود)
موارد احتیاط
زمین ورودی و زمین خروجی ماژول نباید با هم مشترک باشند، که باعث دور زدن مقاومت نمونه گیری جریان ماژول می شود، به طوری که ماژول نمی تواند اندازه جریان خروجی را تنظیم کند و هنگام اتصال به بار، ماژول به راحتی سوزانده می شود.
یک مقاومت نمونه گیری جریان به صورت سری در انتهای خروجی ماژول وجود دارد و پس از اتصال بار افت ولتاژ 0~0.2V وجود خواهد داشت که یک پدیده طبیعی است.
مقداری
مشتریان گزارش می دهند که ولتاژ خروجی ماژول قابل تنظیم نیست. هنگامی که با این مشکل مواجه شدید، لطفاً پتانسیومتر را در خلاف جهت عقربه های ساعت بیش از 10 دور بچرخانید و سپس از ماژول برای تنظیم ولتاژ به طور معمول استفاده کنید. زیرا زمانی که ماژول از کارخانه خارج می شود، ولتاژ خروجی پیش فرض 17 ولت است.
هنگامی که خروجی بیش از 3A و 35W است، لطفا اتلاف گرما را تقویت کنید!
روش خود کالیبراسیون ولتاژ و آمپرمتر روی برد:
1. هنگامی که متر دیجیتال روی برد ولتاژ خروجی را نشان می دهد، دکمه سمت راست را به مدت 2 ثانیه فشار داده و نگه دارید و سپس رها کنید، ولت متر و نشانگر ولتاژ خروجی “OUT” به طور همزمان چشمک می زنند و وارد حالت کالیبراسیون ولتاژ خروجی شوید. هنگام وارد کردن ولتاژ، دکمه سمت راست را به مدت 2 ثانیه فشار داده و نگه دارید و سپس رها کنید، ولت متر و نشانگر ولتاژ ورودی “IN” به طور همزمان چشمک می زنند و وارد حالت کالیبراسیون ولتاژ ورودی شوید. هنگامی که ولت متر جریان خروجی را نشان می دهد، دکمه سمت راست را طولانی فشار دهید 2 پس از چند ثانیه آن را رها کنید، آمپرمتر چشمک می زند و در این زمان حالت کالیبراسیون جریان خروجی را وارد کنید.
2. دکمه سمت راست را لمس کنید، ولتاژ (جریان) یک واحد افزایش می یابد و دکمه سمت چپ را لمس کنید، ولتاژ (جریان) یک واحد کاهش می یابد. از آنجایی که مقدار ولتاژ یک واحد کمتر از 0.1 ولت است، باید 1-5 را به طور مداوم فشار دهید، می توانید ببینید که ولت متر تنها پس از چندین بار 0.1 ولت تغییر کرده است. تعداد بارهای خاص فشار دادن دکمه به مقدار ولتاژ نمایش داده شده فعلی بستگی دارد. هرچه ولتاژ نمایش داده شده جریان بیشتر باشد، زمان فشار دادن کمتر است.
3. پس از اتمام تنظیم ولتاژ (جریان)، دکمه سمت راست را به مدت 2 ثانیه فشار داده و نگه دارید و آن را رها کنید، سپس می توانید از حالت کالیبراسیون خارج شوید و تمام تنظیمات پارامتر پس از خاموش شدن به طور خودکار ذخیره می شوند.
توجه: این تابع برای کالیبره کردن دقت نمایشگر ولتاژ و جریان استفاده می شود، نه برای تنظیم مقدار ولتاژ و جریان ترمینال خروجی. این تابع برای برآورده کردن نیازهای دقت بالاتر شما طراحی شده است، شما فقط باید یک بار کالیبره کنید تا مقدار را در کل محدوده بدست آورید، لطفاً با اطمینان از آن استفاده کنید.
5A constant voltage and constant current step-down power supply module with display LED drive lithium battery charging
With voltage, current and power display, it can be easily used without a multimeter, and it is powerful!
With USB interface, it has 3 major functions, which can meet the needs of most of your occasions!
Module Highlights
1. On-board voltage, current, power meter, you can easily use this module without a multimeter, which is simpler and more intuitive.
2. The onboard USB interface can easily charge your digital products. (Note: The USB output voltage is the same as the module output voltage, not a fixed 5V output, please confirm before charging the USB device)
3. High power, high efficiency, 5A, low ripple;
4. Three major functions:
(1) Used as an ordinary step-down module with overcurrent protection capability;
(2) It is used as a charger for various voltage values of lithium batteries, batteries, nickel-cadmium-nickel-hydrogen batteries (battery packs), and is used in solar panels, wind turbines, etc.;
(3) Used as a high-power LED constant current drive module;
5. It has two modes of constant voltage and constant current, and there is an indicator light to indicate which mode the module is currently in;
6. When used as a lithium battery charger, you can set the floating charging voltage and charging current, and there are indicator lights to indicate
Indicates whether it is charging or has been fully charged;
7. With current limiting protection function, the module will not be burned out even if the output is short-circuited.
Module parameters
Input voltage: 5-36V
Output voltage: 1.25-32V continuously adjustable
Output current: adjustable, 5A (recommended to use within 4.5A)
Output power: 75W (recommended to use within 50W, please reduce the power when using large pressure difference)
Working temperature: -40~+85 degrees
Working frequency: 180KHz
Conversion efficiency: 96%
Short circuit protection: yes
Over-temperature protection: yes (automatically turn off the output after over-temperature)
Input reverse connection protection: no, (if necessary, please connect a high current diode in series with the input)
Installation method: 4pcs 3mm screw
Wiring method: wiring terminal or welding terminal, V-IN is input, V-OUT is output
Module size: length 68.2mm width 38.8mm height 15mm
Weight: 35g
Instructions:
(1) Determine the float voltage and charging current of the battery; (if the lithium battery parameter is 3.7V/2200mAh, then the float voltage is 4.2V, and the charging current is 1C, that is, 2200mA)
(2) Under no-load conditions, adjust the digital meter of the module to the [display output voltage] interface, and adjust the “constant voltage potentiometer” to make the output voltage reach the floating voltage;
(3) Adjust the digital meter to the [Display Output Current] interface, and directly short-circuit the output end of the module (find a thick wire to short the output end). At this time, adjust the “constant current potentiometer” to make the The current value reaches the preset charging current value;
(4) The default charging current of the turn lamp is 0.1 times the charging current; (the current of the battery gradually decreases during the charging process, and gradually changes from constant current charging to constant voltage charging. If the charging current is set to 1A, then when When the charging current is less than 0.1A, the blue light is off and the green light is on, at this time the battery is fully charged)
(5) Connect the battery and charge it.
(Steps 1, 2, 3, and 4 are: the input terminal is connected to the power supply, and the output terminal is not connected to the battery when it is empty)
3. Used as LED constant current driver module
(1) Determine the working current and working voltage you need to drive the LED;
(2) Under no-load conditions, adjust the digital meter to the [display output voltage] interface, and adjust the “constant voltage potentiometer” to make the output voltage reach the LED working voltage;
(3) Adjust the digital meter to the [display output current] interface, and directly short-circuit the output end of the module (find a thick wire to short the output end), and then adjust the “constant current potentiometer” to make the The current value reaches the preset LED operating current;
(4) Connect the LED and test the machine.
(Steps 1, 2, and 3 are: the input is connected to the power supply, and the output no-load is not connected to the LED light)
Precautions
The input ground and output ground of the module should not be shared together, which will cause the module current sampling resistor to bypass, so that the module cannot adjust the output current size, and the module is easy to burn when connected to a load.
There is a current sampling resistor in series at the output end of the module, and there will be a voltage drop of 0~0.2V after the load is connected, which is a normal phenomenon.
Some customers report that the output voltage of the module cannot be adjusted. When you encounter this problem, please turn the potentiometer counterclockwise for more than 10 turns, and then use the module to adjust the voltage normally. Because when the module leaves the factory, the default output voltage is 17V.
When the output exceeds 3A and 35W, please strengthen the heat dissipation!
On-board voltage and ammeter self-calibration method:
1. When the on-board digital meter displays the output voltage, press and hold the right button for 2 seconds and then release, the voltmeter and the output voltage indicator “OUT” flash simultaneously, and enter the output voltage calibration mode; When inputting voltage, press and hold the right button for 2 seconds and then release, the voltmeter and the input voltage indicator “IN” flash synchronously, and enter the input voltage calibration mode; when the voltmeter displays the output current, long press the right button 2 Release it after a few seconds, the ammeter flashes, and enter the output current calibration mode at this time;
2. Touch the right button, the voltage (current) increases by one unit, and touch the left button, the voltage (current) decreases by one unit; since the voltage value of one unit is less than 0.1V, you need to press 1-5 continuously You can see that the voltmeter has changed by 0.1V only after several times. The specific number of times of pressing the button depends on the current displayed voltage value. The higher the current displayed voltage, the less pressing times;
3. After the voltage (current) adjustment is completed, press and hold the right button for 2 seconds and release it, then you can exit the calibration mode, and all parameter settings will be automatically saved after power off.
Note: This function is used to calibrate the display accuracy of voltage and current, not to adjust the voltage and current value of the output terminal. This function is designed to meet your higher accuracy requirements, you only need to calibrate once to get the value over the entire range, please use it with confidence.
برچسب: XL4015 DC-DC Adjustable Power Step-Down Module with LED Display-5A
هیچ پرسشی یافت نشد
برای ثبت پرسش، لازم است ابتدا وارد حساب کاربری خود شوید



نقد و بررسیها0
هنوز بررسیای ثبت نشده است.